Rainwater can seriously damage your property when it collects around your home’s foundation. Gutters help manage roof runoff, but they cannot protect your property without proper drainage. Water needs a clear path away from your house to prevent pooling and erosion. A downspout drainage system directs rainwater toward a safer discharge area. Understanding how these systems work can help you prevent expensive repairs and recurring moisture problems.
What a Downspout Drain Is
A downspout drain carries rainwater from your gutter system away from your home’s foundation. It connects to a downspout and directs runoff toward a designated drainage area. Depending on the property, the system may use aboveground extensions or underground pipes. Its main purpose is to prevent water accumulation near your house.
How a Downspout Drain Works
Rainwater flows down your roof and enters the gutters along its edges. The gutters channel that water toward downspouts installed at selected locations. From there, a drainage extension or connected pipe carries the runoff away. Underground systems typically use sloped pipes to move water through gravity. The water eventually reaches a suitable outlet, such as a pop-up emitter or approved discharge point. Proper installation allows the system to handle normal rainfall without creating puddles near your foundation.
Downspouts vs. Downspout Drains
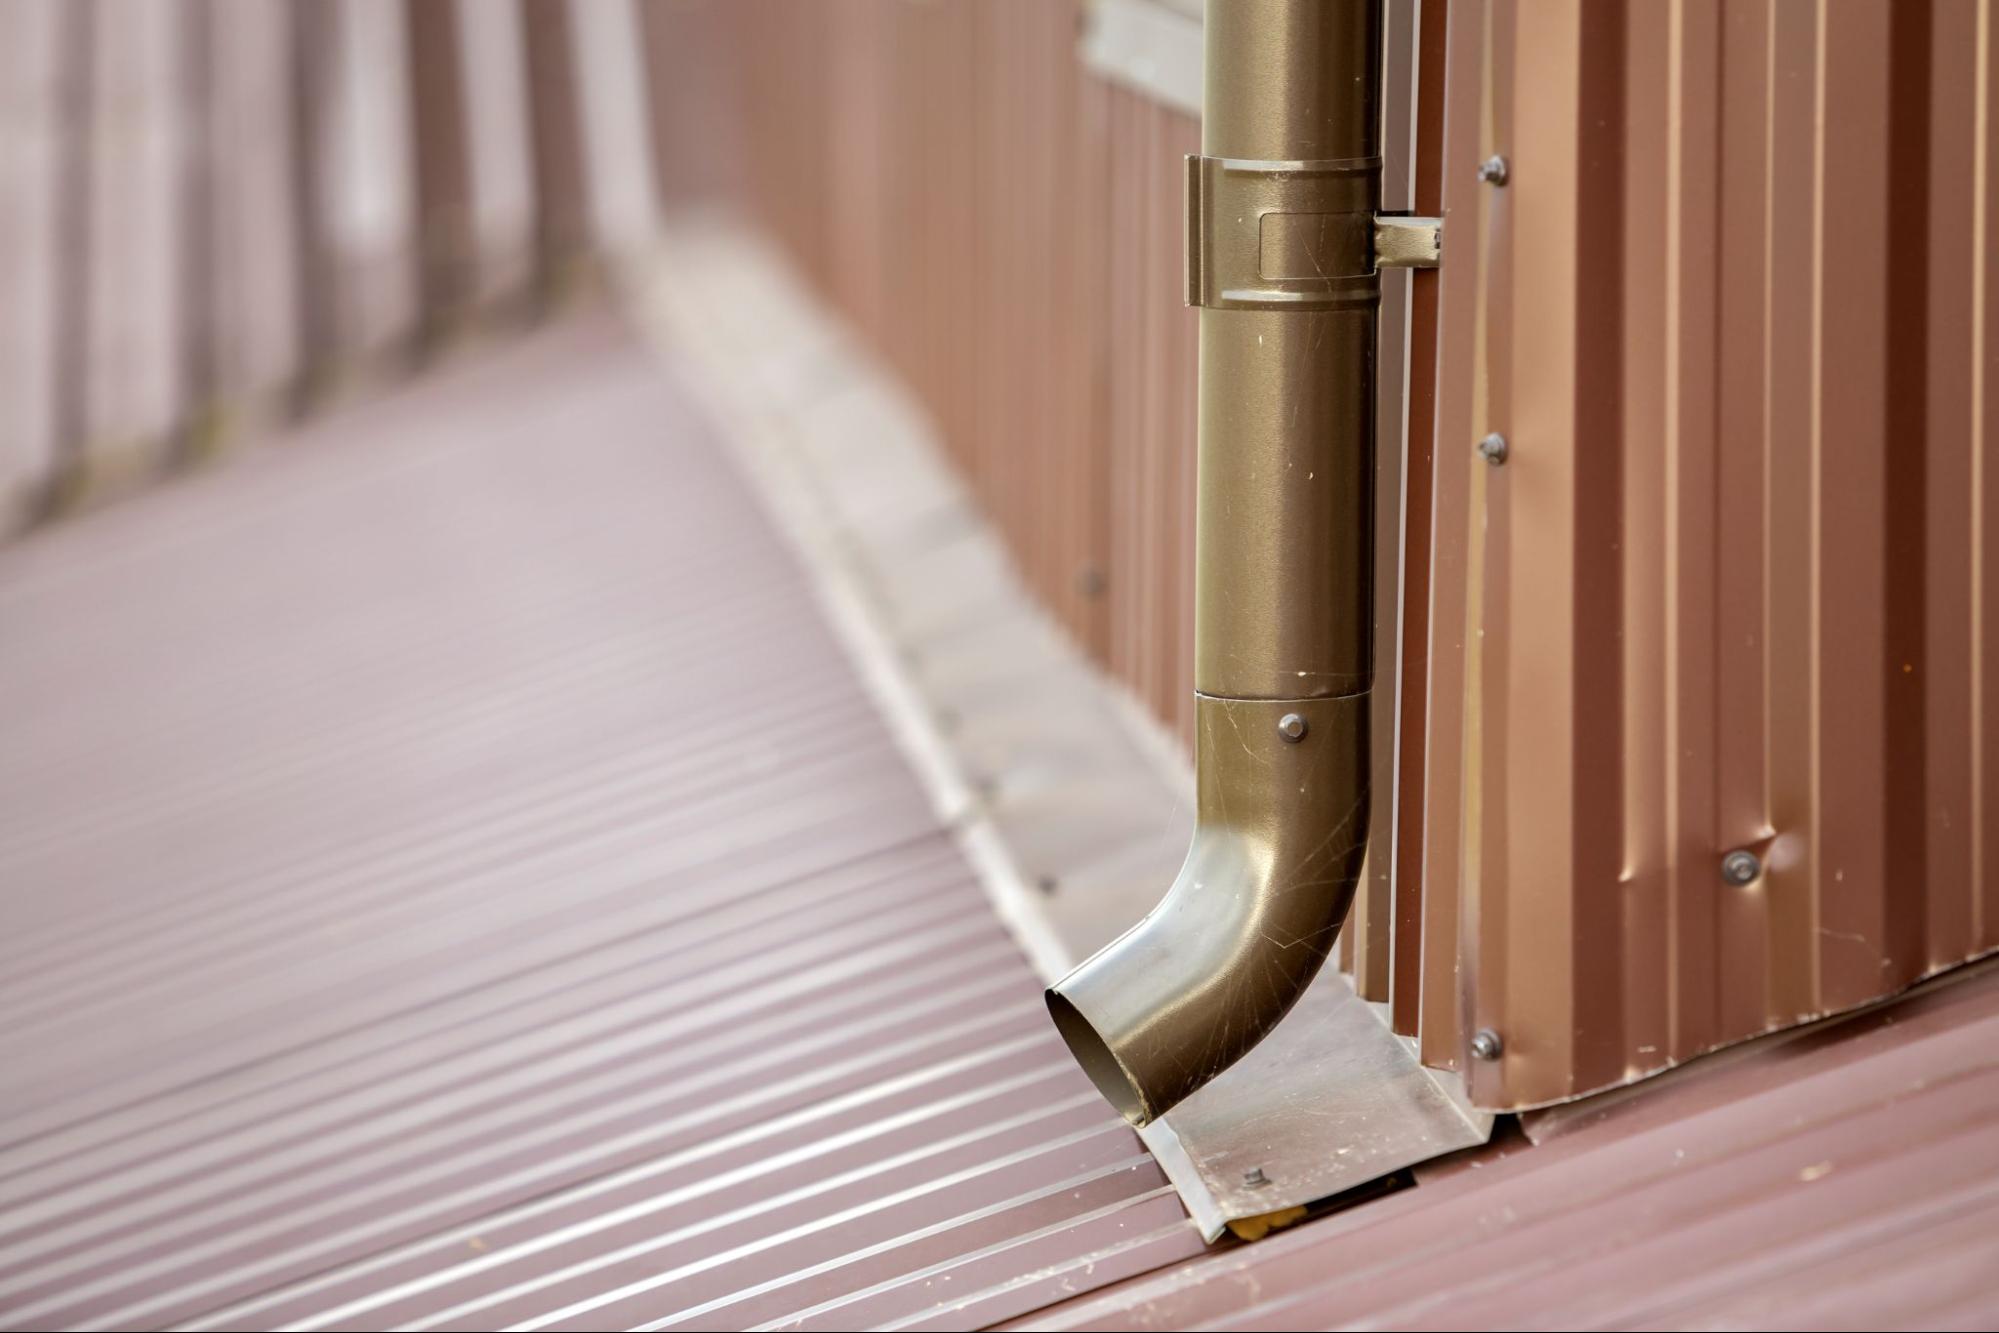
A downspout is the vertical pipe attached to your home’s gutter system. It carries roof runoff from the gutter toward the ground. A downspout drain manages that water after it reaches the bottom. Without additional drainage, a downspout may release water directly beside your foundation. Connecting it to a drain helps move runoff farther from vulnerable areas. Both components work together, but each performs a different function.
Why Your Home Needs Proper Roof Drainage
Rainwater naturally follows the easiest available path across your property. Poor drainage can direct that water toward foundations, walkways, and landscaped areas. Repeated exposure may gradually damage surfaces and create unwanted moisture problems. A properly designed drainage system reduces these risks through controlled water movement.
Protecting Your Foundation From Water Damage
Water collecting beside your foundation can saturate the surrounding soil. Prolonged saturation may increase moisture pressure against basement walls and foundation surfaces. Small cracks or construction joints can let water in. Some soils also expand when wet, which can contribute to foundation movement. Directing roof runoff away reduces unnecessary moisture exposure around the structure. However, drainage improvements cannot repair existing foundation damage or replace necessary waterproofing.
Preventing Soil Erosion and Landscape Damage
Concentrated runoff can wash soil away from planting beds and walkways. Over time, erosion can expose roots or create uneven ground. Heavy rainfall can also shift mulch and decorative stones. A drainage pipe moves concentrated water toward a more suitable location. The system helps protect landscaping while reducing muddy areas near your home. Proper outlet placement prevents the drainage solution from creating erosion elsewhere.
Reducing Basement and Crawl Space Moisture
Persistent ground moisture can contribute to damp basements and crawl spaces. Water may enter through foundation openings or accumulate near vulnerable walls. Excess humidity can encourage mold growth and damage stored belongings. Redirecting roof runoff reduces one common source of moisture around these spaces. However, underground drainage cannot address every cause of water intrusion. Persistent dampness may require additional waterproofing, grading corrections, or professional moisture assessment.
Common Types of Downspout Drainage Systems
Not every property needs the same drainage arrangement. Available space, soil conditions, and rainfall patterns influence the best design. Some systems carry runoff across the ground, while others use buried piping. Understanding these differences helps homeowners select practical solutions for their properties.
Aboveground Downspout Extensions
Aboveground extensions attach directly to the bottom of existing downspouts. They carry water farther from the house without requiring excavation. Common options include rigid elbows, flexible extensions, and hinged sections. These products usually cost less and are simpler to install than underground systems. However, exposed extensions can interfere with mowing, landscaping, and pedestrian access. They also need proper positioning to prevent water from returning toward the foundation.
Underground Downspout Drains
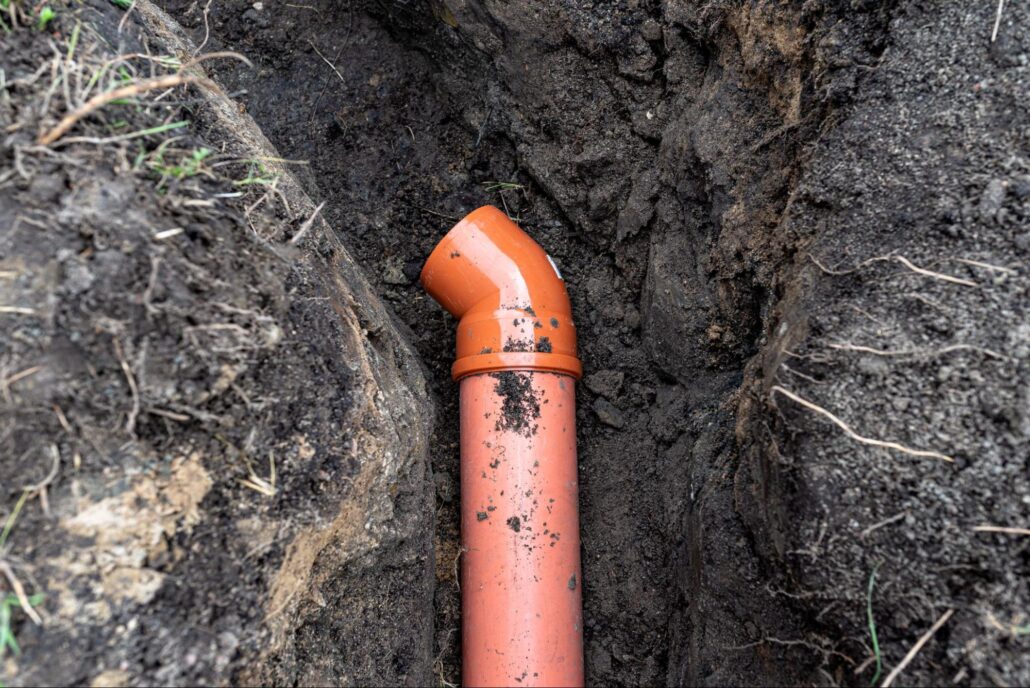
Underground drainage systems use buried pipes to transport roof runoff away from buildings. Their concealed design keeps lawns and walkways relatively clear of visible extensions. Installers typically connect downspouts to solid pipes with proper slopes. The pipes discharge water through approved outlets or other suitable drainage arrangements. Underground systems require careful planning because buried blockages can be difficult to locate. Accessible cleanouts and proper pipe sizing make future maintenance easier.
Pop-Up Drainage Emitters
Pop-up emitters provide a discreet outlet for certain underground drainage systems. They typically sit near ground level at the end of buried pipes. Flowing water lifts the emitter’s lid, allowing it to escape onto the surrounding surface. When the flow stops, the lid returns to its closed position. These outlets require suitable grading so discharged water can move away safely. They also need occasional cleaning because debris and sediment can interfere with operation.
Parts of a Downspout Drainage System
A reliable drainage system depends on more than its main pipe. Connections, fittings, and discharge points influence how efficiently water travels. Each component must accommodate expected runoff without creating unnecessary restrictions. Understanding these parts makes drainage problems easier to recognize and discuss with contractors.
Drainage Pipes and Connectors
Drainage pipes carry collected roof water toward the system’s discharge location. Solid pipes are generally preferred when transporting runoff away from foundations. Common materials include PVC and smooth-interior polyethylene drainage pipe. Connectors join downspouts to pipes while accommodating changes in direction. Properly fitted connections reduce leaks, separation, and unwanted soil entry. Pipe diameter should reflect the roof area served and expected rainfall intensity.
Catch Basins and Drainage Inlets
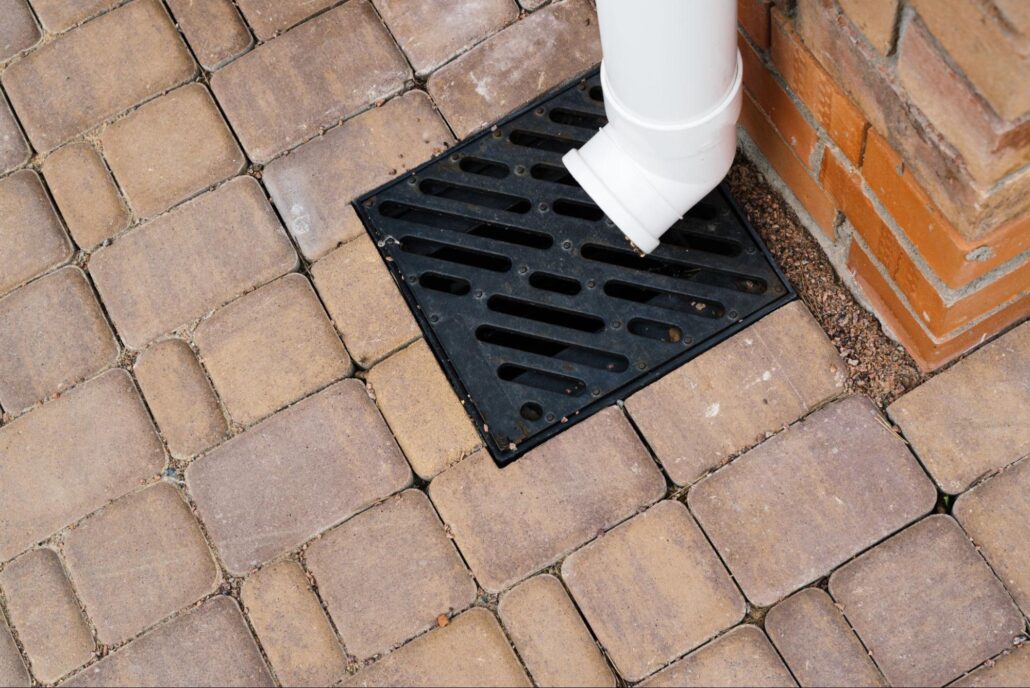
Catch basins collect surface runoff from low areas around a property. Some drainage designs connect suitable basins to a shared outlet system. Their grates help keep larger debris out of the drainage network. However, sediment and smaller materials can still accumulate inside the basin. Regular cleaning keeps the inlet open and maintains available storage space. Any shared drainage arrangement needs adequate capacity to handle combined water flows.
Cleanouts and Discharge Outlets
Cleanouts provide access points to inspect and clear buried drainage pipes. Installers may place them near connections or where blockages commonly develop; a discharge outlet releases collected water at the end of the system. Depending on local conditions, outlets may include surface emitters or approved stormwater connections. Every outlet needs a location that avoids directing runoff toward neighboring structures. Clear access and suitable discharge planning help the entire system operate reliably.
How to Install a Downspout Drain
Installing drainage involves more than burying a pipe beside your house. The route must accommodate water flow, avoid underground obstacles, and lead to a suitable outlet. Incorrect slopes or discharge locations can worsen existing drainage problems. Careful planning helps prevent unnecessary excavation and costly adjustments.
Assess the Drainage Problem
Start by observing where water collects during or shortly after rainfall. Check the downspout outlets, surrounding soil, and nearby low spots. Look for erosion, standing water, and signs of moisture near foundation walls. Note the direction water naturally travels across your yard. These observations help identify potential routes and suitable discharge locations. Persistent flooding may warrant a professional drainage assessment before you begin installation.
Plan the Pipe Route and Slope
Choose a route that carries runoff away from the foundation. Gravity-fed systems need a continuous downward slope toward their outlets. The appropriate slope depends on pipe size, site conditions, and system design. Avoid unnecessary bends because they can restrict flow and complicate cleaning. Before digging, arrange utility marking and check applicable drainage requirements. The proposed discharge location must also accommodate runoff without creating new problems.
Connect and Bury the Drainage Pipe
Excavate the planned trench to accommodate the pipe and required slope. Prepare a stable base that supports the pipe without creating uneven sections. Connect the downspout using compatible fittings and appropriate adapters. Install cleanouts where the system design calls for maintenance access. Test the connected pipe with water before covering the trench. After confirming proper drainage, backfill carefully and restore the surrounding surface.
Downspout Drain Maintenance and Cleaning
Routine maintenance keeps rainwater moving through the drainage system. Even properly installed pipes can collect debris over time. Seasonal weather and nearby trees may increase the need for cleaning. A few practical checks can help homeowners identify problems before major storms.
Clean Gutters and Downspout Openings
Remove leaves and accumulated debris from gutters when conditions allow safe access. Clear downspout openings to prevent material from entering connected drainage pipes. Homes surrounded by trees may require more frequent inspections. Gutter guards can reduce large debris but don’t eliminate the need for maintenance. Carefully flush accessible downspouts to confirm water moves through them. Hire a professional when roof height or ladder conditions make cleaning unsafe.
Inspect Underground Drainage Outlets
Locate the outlet serving each underground downspout connection. Remove leaves, grass clippings, and sediment that obstruct visible discharge points. Check pop-up emitters for lids that stick or fail to open. Inspect accessible cleanouts when water flow appears unusually slow. Avoid forcing rigid tools into buried pipes, as they can damage fittings. Persistent blockages may require professional flushing or camera inspection.
Prepare Drainage Systems for Heavy Rain
Inspect gutters and visible drainage components before periods of frequent storms. Confirm that extensions remain connected and direct water away from structures. Clear debris that has accumulated around surface outlets and drainage inlets. Look for settlement that may have changed the slope of exposed piping. In freezing climates, check for trapped water and vulnerable outlets before winter. Addressing these conditions early helps maintain drainage performance during demanding weather.
Restore Proper Water Flow With a Downspout Drain
Poor drainage rarely fixes itself, and waiting can turn minor water problems into costly repairs. A properly installed downspout drain directs rainwater away from vulnerable areas before damage develops. If you notice standing water, soil erosion, or persistent moisture, address the problem before it worsens. Contact a trusted drainage professional to find a reliable solution that protects your property for years.
Better home protection starts with knowing how to manage rainwater. Explore the Quality Rain Gutters, Inc. blog for useful insights on gutters, downspouts, and drainage solutions.